Blog Images and Core Web Vitals: A Practical Guide for Faster Pages
Blog Images Core Web Vitals: Fix LCP and CLS Fast
You upload a hero image, hit publish, and move on. The post looks fine. The headline is sharp, the copy is solid, and the internal links are in place. Then you run a Core Web Vitals check and watch your LCP score crawl past 4 seconds. The culprit is almost always the image. Blog images core web vitals failures are rarely a one-time mistake. They're a publishing habit problem.
The frustrating part? The fix isn't complicated. A few decisions made before upload — file size, format, dimensions, loading priority — can move your LCP from failing to passing. The problem is those decisions get skipped under deadline pressure. Then they get skipped again, and again, until a whole content library is quietly dragging your page experience scores down.
This guide covers why images break performance, the manual workflow to fix them, where that workflow collapses at scale, and how to build a system that keeps scores clean without slowing your editorial team down.
Why blog images are usually the first Core Web Vitals problem
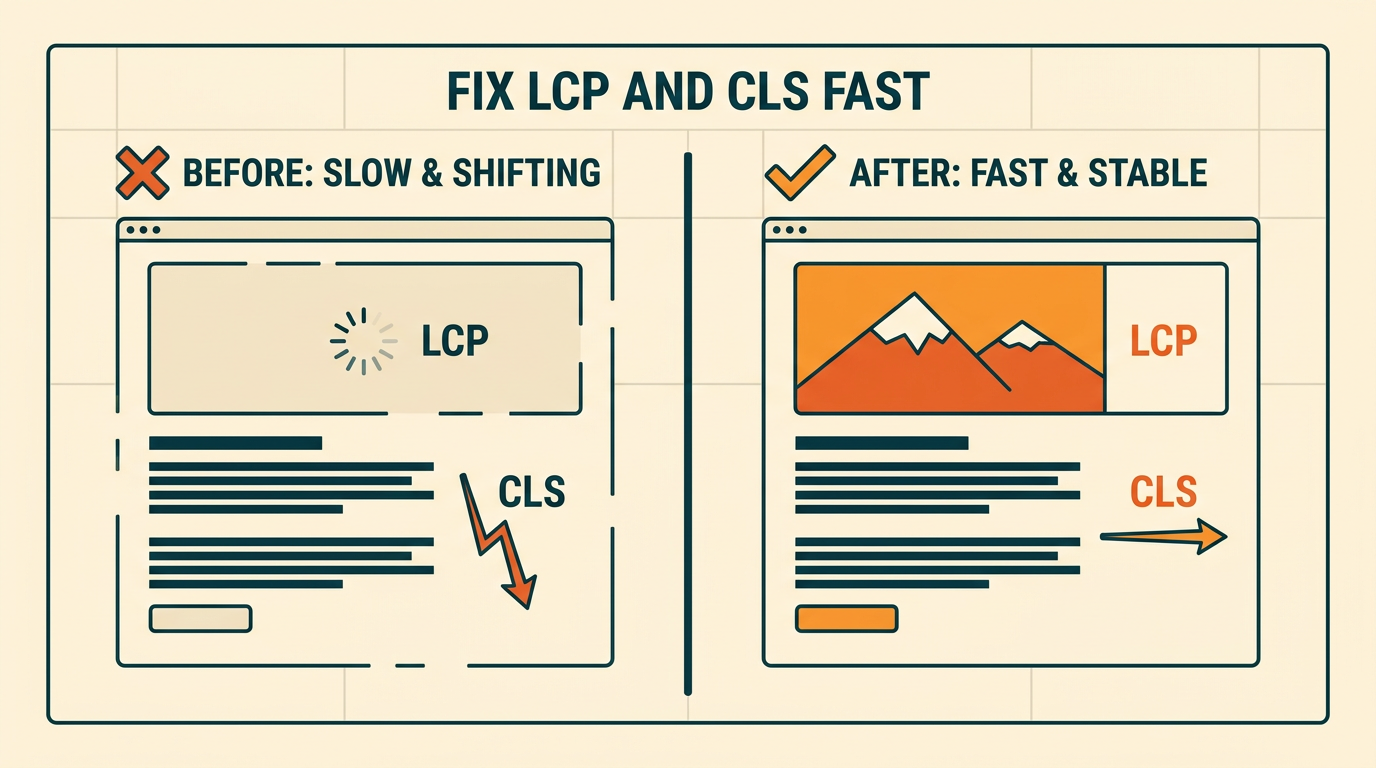
Your hero image is almost certainly your LCP element. Largest Contentful Paint measures how long the browser takes to render the biggest visible content block. On most blog posts, that block is the featured image at the top of the page. If that image is heavy, the LCP number goes up. Simple.
The good threshold for LCP is under 2.5 seconds. Pages that land between 2.5 seconds and 4 seconds need improvement. Anything over 4 seconds is a failing score. A single unoptimized hero image at 2MB can push a fast server past that 4-second mark on a mobile connection. That's not a design flaw. That's a publishing workflow flaw.
CLS is the other image-related metric worth watching. Cumulative Layout Shift measures how much the page visually jumps as it loads. When you upload an image without explicit width and height attributes, the browser doesn't know how much space to reserve. It renders the surrounding text, then the image loads and shoves everything down. That shift registers as CLS. The good threshold is under 0.1. An image without reserved dimensions can push you past it on its own.
Neither of these is a one-post problem. Every new post your team publishes without a consistent image workflow is another potential regression. That's why this belongs in your content operations process, not just your design system. 📋

What to fix first: dimensions, format, and file weight
Three things break most blog image performance. Wrong dimensions. Wrong format. Too many bytes. Fix these three and you'll clear most image-related Core Web Vitals failures.
Set explicit width and height on every image
If your image tag doesn't include a width and height attribute, the browser can't reserve the correct space before the image loads. That causes layout shift. Google explicitly recommends setting both attributes to give the browser the aspect ratio it needs to hold the space. Even if you style images with CSS, the HTML attributes still matter for that early layout calculation.
Resize to the actual display size before upload
If your blog column is 800px wide and you upload a 2400px image, the browser downloads all 2400px and then scales it down. You pay the bandwidth cost for pixels the reader never sees. A useful heuristic is to export at 1.5x the maximum display width to cover high-density screens, then stop. For an 800px column, that means a 1200px export. Not 2400px. Not the raw camera file.
Convert to WebP or AVIF
Modern formats like WebP and AVIF compress better than JPEG or PNG at equivalent visual quality. In my experience, WebP files run 25% to 35% smaller than a comparable JPEG export at the same quality setting. AVIF can compress even further, though browser support is slightly narrower. For most blog teams, WebP is the practical default. AVIF is worth testing if you're on a build pipeline that handles conversion automatically.
Aim for under 100KB per image
That's not a hard rule, but it's a useful target. A well-optimized WebP hero image for a blog post can often land between 40KB and 80KB without visible quality loss. If your hero is consistently over 200KB after compression, the resize step probably didn't happen. Go back and check the export dimensions first.
The manual workflow for optimizing a blog image before publish
The manual process works. It's not magic. It's 5 steps that take about 3 minutes to 5 minutes per image if you have the right tools open. The problem isn't complexity. It's consistency.
Step 1: Crop to the intended container size
Before you open a compression tool, know the dimensions your template actually renders. Check your CMS or stylesheet for the max-width of your content column. Crop the image to fit that container at 1.5x resolution. Do this in Figma, Photoshop, or even Squoosh before anything else.
Step 2: Compress and verify quality after export
Run the cropped file through a compression tool. Squoosh is free and shows you a side-by-side quality comparison. Set WebP quality to around 80 and check whether the output looks acceptable at full size. Drop to 75 if the file is still over 100KB. Go back up to 85 if you see visible artifacts. This takes 60 seconds.
Step 3: Add width, height, and alt attributes before upload
When you insert the image in your CMS, confirm the width and height attributes match the actual exported pixel dimensions. Write a descriptive alt text that reflects the image content. This is where most editors skip a step. Don't skip it. The layout shift penalty shows up in your CLS score every time a visitor loads that page.
Step 4: Apply lazy loading only to below-the-fold images
The loading='lazy' attribute tells the browser to defer fetching an image until the user scrolls near it. That's correct behavior for images below the fold. It's the wrong behavior for your hero image. Lazy-loading the LCP image delays its render and directly increases your LCP time. The hero gets loading='eager' or no loading attribute at all. Everything else below the fold gets loading='lazy'.
Step 5: Run a quick performance check before hitting publish
Paste the post URL into PageSpeed Insights or run a Lighthouse audit in Chrome DevTools. Look at the LCP value and the CLS score. If LCP is under 2.5 seconds and CLS is under 0.1, you're in good shape. If either fails, the image is the first place to look. This adds 2 minutes to your publishing workflow and catches regressions before they go live.
The manual workflow isn't the problem. The problem is that it requires every editor to remember every step, every time, under deadline pressure.

Where manual optimization breaks down for content teams
If you publish 1 post per week and one person handles images, the manual process is fine. That's not most content teams. Most teams publishing at volume — say, 3 posts to 5 posts per week — see image quality become inconsistent within a month. Not because editors are careless. Because the checklist is invisible.
New posts aren't the only problem
Every post you published before you had an image workflow is still live. If you have 200 posts and 40 of them have oversized hero images, those 40 posts are failing Core Web Vitals right now. A manual fix means opening each post, replacing the image, re-checking the attributes, and republishing. At 5 minutes per post, that's over 3 hours of work just to clear a backlog that will grow again next month.
Template changes create new regressions
When your design team updates a blog template and changes the hero container width, every existing image is now either oversized or undersized for the new layout. A manual workflow has no way to catch that systematically. You find out when someone checks a specific post or when your Core Web Vitals scores drop in Search Console.
One optimized post isn't a system
In my experience, most content teams optimize images after a performance audit, feel good about the results, and then revert to the old habits within 6 weeks. The next hire doesn't know the workflow. The next template update changes the dimensions. The next batch of stock photos comes in as full-resolution PNGs. The score drops again. That cycle is the real problem to solve.
The best image workflow is the one editors can't accidentally break, because it doesn't depend on them remembering to do it.
How automation changes the workflow without slowing publishing
Automation in this context doesn't mean removing editorial control. It means moving the image optimization decisions out of the editor's head and into the pipeline. The editor still chooses the image. The system handles compression, resizing, and format conversion automatically.
Compress and convert at upload or build time
Most modern CMS platforms and static site generators support image processing pipelines. Vercel's image optimization, for example, automatically converts images to WebP and resizes them to match the requested display size. Netlify has similar capabilities. WordPress plugins like ShortPixel or Imagify handle compression and format conversion at upload. The editor uploads the original. The system delivers the optimized version. Nothing to remember.
Set rules that prevent lazy-loading the LCP image
If your CMS or theme applies loading='lazy' to all images by default, you need to override that for the hero slot. This is a one-time template fix, not a per-post task. Add fetchpriority='high' to the hero image element and remove the lazy attribute from that slot. Every post published after that change benefits automatically. 🔧
Use a CDN for image delivery
A CDN reduces image delivery latency by serving assets from a location closer to the user. If your server is in the US and a reader is in Germany, a CDN edge node in Frankfurt delivers the image faster than your origin server can. For image-heavy blog posts, CDN delivery can cut LCP time meaningfully without touching a single file. Cloudflare, Fastly, and Bunny.net all handle this at the infrastructure level.
Track regressions at the template level
Instead of checking individual posts after they go live, monitor Core Web Vitals at the template level. Page experience signals affect how Google evaluates your content, so a regression in your blog post template affects every post, not just one URL. Set up URL groups in Google Search Console's Core Web Vitals report to watch your blog template separately from your homepage and product pages.

Manual vs automated blog image optimization: what actually scales
| Factor | Manual workflow | Automated workflow |
|---|---|---|
| Time per image | 3 minutes to 5 minutes | Near zero (handled at upload) |
| Consistency | Depends on editor discipline | Enforced by the pipeline |
| Backlog coverage | Manual re-upload required | CDN or build step handles existing URLs |
| Template change impact | Requires post-by-post review | Pipeline adapts automatically |
| Setup cost | None (just a checklist) | Hours to days depending on stack |
| Failure mode | Human forgets a step | Misconfigured rule affects all posts |
| Best for | Sites under 50 posts, solo publishers | Teams publishing 3+ posts per week |
The trade-off is real. Manual is free to start and zero to configure. Automated requires upfront setup time and carries the risk that a misconfigured compression rule degrades quality across every post. Neither is universally better. The right choice depends on your publishing volume and team size.
Manual image optimization is a tax you pay per post. Automation is a fixed cost you pay once and then stop thinking about.
For teams publishing fewer than 2 posts per week with a single editor, the manual checklist is probably enough. For teams publishing at higher volume, or with multiple contributors who have different technical comfort levels, automation isn't a luxury. It's the only way to keep image quality consistent without making every editor a performance expert.
Ranksector Blog covers the operational side of content SEO, including how publishing cadence decisions affect your technical health. If you're thinking about how often to publish alongside how well you optimize, the publishing cadence trade-offs guide is worth reading alongside this one. And if your content library has grown to the point where some posts overlap in topic and image-heavy pages are competing with each other, the article consolidation decision guide addresses when to merge rather than fix individually.
A blog image checklist for keeping Core Web Vitals clean over time
Use this before every publish. It covers the 5 decisions that cause the most image-related performance failures. ✅
- Dimensions match the display container. Export at 1.5x the max column width, not the original file size. For an 800px column, that means a 1200px export.
- File weight is under 100KB. If you're above that after WebP compression at quality 80, go back and reduce the export dimensions first.
- Format is WebP or AVIF. JPEG and PNG are acceptable fallbacks but shouldn't be your default for new uploads.
- Width and height attributes are set in the image tag. These match the actual pixel dimensions of the exported file, not the CSS display size.
- The hero image doesn't have
loading='lazy'. Every image below the fold does. - A quick Lighthouse or PageSpeed Insights check confirms LCP is under 2.5 seconds and CLS is under 0.1 before the post goes live.
For older posts that still receive traffic, run a crawl of your blog URLs through a tool that reports LCP and CLS per page. Prioritize posts with more than 500 monthly visits. Fix the hero image first on each. That covers the highest-impact backlog without requiring you to touch every post you've ever published.
If you only optimize new posts, old posts will keep dragging your scores down. The backlog isn't a separate project. It's part of the same workflow.
Set a recurring review every 90 days for image-heavy templates. When your design team updates the blog layout, check whether the hero container width changed. If it did, your image export dimensions need to change too. That 90-day cadence catches template-level regressions before they compound across dozens of new posts.
Frequently Asked Questions
Does the LCP image need to be preloaded in the HTML?
In many cases, yes. If your hero image is loaded via CSS background or a JavaScript component, the browser may not discover it early enough to prioritize it. Adding a <link rel='preload'> tag in the document head tells the browser to fetch it immediately. For standard <img> tags in the HTML, preload is less critical but still useful if the image is large and your server response is slow.
What's a good file size target for a blog hero image?
A useful heuristic is under 100KB for a WebP hero at 1200px wide. You can often land between 40KB and 80KB without visible quality loss at a quality setting of 75 to 80. If your hero is reliably over 200KB, the resize step is probably missing. Check the export dimensions before adjusting compression settings.
Does image alt text affect Core Web Vitals?
Alt text doesn't directly affect LCP, CLS, or INP scores. It affects accessibility and image search indexing. That said, missing alt text is a signal that the image optimization workflow is incomplete. If alt text is missing, the width, height, and loading attributes are probably inconsistent too. Treat alt text as part of the same pre-publish checklist.
How do I find which images are causing CLS on my blog?
Open Chrome DevTools, run a Lighthouse audit, and look at the Layout Shift clusters in the diagnostics section. It names the elements causing the shift. Alternatively, the Core Web Vitals report in Google Search Console groups URLs by issue type, so you can filter for CLS failures and identify which page templates are affected most.
Is AVIF worth using over WebP for blog images?
AVIF compresses better than WebP at equivalent quality, often by 20% to 30% on photographic images. The trade-off is encoding time and slightly narrower browser support. For a blog team using a build pipeline or CDN that handles conversion automatically, AVIF is worth enabling alongside WebP as a fallback. For manual workflows, WebP is simpler to manage and still a significant improvement over JPEG.
Ranksector
Start with the checklist above on your 5 highest-traffic posts. See how Ranksector covers the full content operations workflow — from image performance to publishing cadence — so your team builds better defaults into every publish, not just the ones someone remembered to check.