
Fast Webflow Blog Publishing for Small Teams: Data API & RSS Automation
Fast Webflow Blog Publishing for Small Teams: Data API & RSS Automation
Yes, you can publish a blog on Webflow, and for most small teams the right starting point is Webflow CMS paired with the Editor for manual publishing. For higher volume, the Data API or RSS-based automation handles the scale a single person can’t sustain by hand. Either path requires a paid Site plan to publish to a custom domain.
Start by picking a CMS template or preparing your API credentials, depending on which path fits your cadence.
TL;DR:
- Setting up custom domain publishing requires a paid Site plan and proper domain connections before publishing any content.
- Using a CMS template with predefined blog fields streamlines the setup and ensures a professional appearance from the start.
- Automated publishing via Data API or RSS feeds is recommended for high-volume blogs to avoid manual copy-pasting and scheduling issues.
- Proper metadata, canonical tags, and image alt text are crucial for SEO and social sharing, especially when syndicating content across platforms.
- Avoid common pitfalls like full-site publishes, leftover template content, and expired API tokens to maintain a seamless publishing workflow.
Table of Contents
- Publishing starter checklist before you begin
- Create your CMS Collections and choose a blogging template
- How to draft, schedule, and publish posts using Designer and Editor
- Using Webflow’s publishing workflow, staging, and pre-publish summaries
- Automating publishing: Data API patterns, RSS feeds, and no-code automations
- SEO setup inside Webflow: URLs, metadata, OG tags, and image alt text
- Common mistakes and quick fixes
- Ranksector integration: automating content creation and direct publishing to Webflow
- Author perspective: when to use Webflow and when to automate
- Ranksector: automated publishing built into your Webflow workflow
- Sources
- FAQ
Publishing starter checklist before you begin
Before you touch a single Collection item, get these pieces in place. Skipping this step is the most common reason teams stall halfway through setup.
- Confirm your Site plan and domain connection, since custom domain publishing requires a paid plan rather than the free Starter tier.
- Pick or prepare a CMS-capable template with Collections already structured for blog content, or plan to build them from scratch.
- Decide who works in Editor versus Designer, and assign publishing roles so one person isn’t blocking the rest of the team.
- Map your metadata fields (title, description, OG image) and settle on image size and alt text conventions before you write your first post.
- Line up automation accounts if you’re going that route: API keys, a webhook listener, or a Zapier, Make, or n8n account ready to connect.
Get these five items sorted and the actual publishing work moves fast. Skip them and you’ll be retrofitting fields after your tenth post, which costs more time than doing it upfront.
Create your CMS Collections and choose a blogging template
Webflow’s own guidance on starting a blog recommends beginning with a CMS template rather than building Collections from a blank canvas. Templates built for blogging already include a Blog Posts Collection wired into a Collection page, which saves you the trial and error of connecting dynamic fields to design elements yourself. You’ll find these templates in Webflow’s template marketplace, filtered by CMS or blog category.
Once you have a template, or you’re building Collections manually, your Blog Posts Collection needs a specific set of fields to function as a real blog:
- Name and slug for the post title and URL path.
- Rich text field for the post body content.
- Excerpt for summaries on index pages and meta descriptions.
- Publish date and author reference for sorting and attribution.
- Category or tag reference for filtering and related-post logic.
- Cover image for the post header and social sharing.
- Canonical URL field, useful if you ever syndicate the post elsewhere.
Styling the Rich Text field deserves attention most teams skip. Webflow renders Rich Text as a block of nested HTML, so your typography settings inside the Collection page’s Rich Text element control how every post looks, not individual post styling. Strip out placeholder text and non-dynamic elements from the template before you launch: sample images, dummy author bios, and hardcoded links left over from the template’s demo content are the most common source of an unprofessional-looking live blog.
Pro Tip: Create one draft Collection item, fill every field including images, and preview it on your staging subdomain before writing real content, so you catch layout or field-mapping problems on a throwaway post instead of your first real one.
How to draft, schedule, and publish posts using Designer and Editor
Webflow gives you two ways to create content: the Designer, where you build and adjust page structure, and the Editor, a simplified interface for adding and updating content without touching layout. Most day-to-day blogging happens in the Editor once your Collection template is built. You reach the Editor from the published site itself, or through the Edit button in your project dashboard, and Webflow’s Help Center covers the publishing workflow that connects both tools to staging and production.
A typical post creation flow looks like this:
- Open the Collection list in Editor or Designer and add a new item.
- Fill in your fields: title, body content, excerpt, category, cover image, and metadata.
- Set or confirm the slug, ideally before the post goes live since changing it later breaks existing links.
- Choose a publish time using the scheduling option if you want the post to go live later rather than immediately.
- Publish the individual item using per-item publish and unpublish controls rather than pushing the whole site.
Webflow’s per-item publishing means you can update or schedule one blog post without republishing pages that have nothing to do with it, a detail the Help Center’s pricing and publishing documentation confirms is part of what paid Site plans unlock. For teams publishing multiple posts at once, batch selection lets you publish several items together instead of one at a time.
Permissions matter as your team grows. Assign who can publish versus who can only draft, so a contractor or freelance writer can build a post without accidentally pushing it live. Webflow also supports keyboard shortcuts for publishing inside the Designer, which speeds up repetitive tasks once you’re comfortable with the interface.
Pro Tip: Keep a running style checklist (slug format, excerpt length, image dimensions) next to your Editor window until entering fields becomes automatic. It cuts down on inconsistent posts more reliably than editing after the fact.
Using Webflow’s publishing workflow, staging, and pre-publish summaries
Every Webflow project gets a staging subdomain that mirrors production, letting you review changes before they go live. This is where the publishing workflow documented by Webflow becomes useful: you build or edit in the Designer, review on staging, then publish to production intentionally rather than by accident.

Webflow’s 2026 publishing-experience updates added pre-publish summaries that show exactly what’s about to change and who made the edits, plus a Site Activity log for tracking contributor history. For a small team where two or three people touch the same project, that visibility matters more than it sounds: it’s the difference between publishing with confidence and publishing with your fingers crossed.
A few habits keep this workflow from turning into a liability:
- Use single-page publishing when you only need to push one blog post live, rather than triggering a full-site publish that touches unrelated pages.
- Check the pre-publish summary every time, even for small edits, since it flags exactly what’s changing before you commit.
- Preview on staging first, testing internal links and image loading before anything touches production.
- Verify metadata fields are filled in for the specific post, not inherited blank from the template.
- Select the right domain in the Publish modal if you’re managing staging and production separately.
This isn’t extra process for its own sake. A full-site publish on a project with concurrent Designer edits can push someone else’s unfinished work live along with your blog post, and that’s a far bigger cleanup job than double-checking a summary screen.
Automating publishing: Data API patterns, RSS feeds, and no-code automations
Manual publishing works fine at one or two posts a week. Past that, most teams start looking at Webflow’s Data API or RSS-based automation to keep the blog moving without someone manually copying content into Collection fields every day. Our guide to publishing without manual copy-paste walks through this in more depth, but the core patterns break down into two approaches.
- Server-side API integration: authenticate with a Webflow API token, create a Collection item by sending fieldData (title, slug, body, metadata) to the items endpoint, then publish it separately through the publish endpoint. This gives you full control over deduplication, scheduling, and error handling.
- RSS-driven automation: poll an external feed (a writing tool, Medium, or another CMS), check new entries against a dedupe table of previously imported GUIDs or URLs, then create matching Collection items through a no-code tool.
Webflow’s own Medium integration documentation covers both directions: pulling Medium RSS content into Webflow via Zapier, Make, or n8n, and exporting Webflow posts to Medium with canonical links intact. That canonical detail matters for syndication. If you cross-post content to Medium or another platform, point the canonical tag back to your original Webflow post so search engines credit the right page rather than splitting authority between two copies.
No-code tools are the easier entry point since they need no engineering time, but they come with rate limits and less granular error handling than a direct API integration. Server-side API access makes more sense once you’re publishing daily and need reliable retries, logging, and dedupe logic that a Zapier template can’t easily provide. For a deeper comparison of when to choose each path, see manual workflow versus automation.
Pro Tip: If you build an RSS-to-Webflow pipeline, run a preflight GET request against existing Collection items before creating anything new. It’s the single easiest way to avoid duplicate posts when a feed re-serves the same item twice.
SEO setup inside Webflow: URLs, metadata, OG tags, and image alt text
Webflow gives you direct control over the metadata that determines how a post shows up in search results and social shares, but only if you map your Collection fields correctly. Your meta title and meta description fields should pull from dedicated Collection fields rather than defaulting to the post body, and your Open Graph image field should reference your cover image so shared links display properly on social platforms.
A few rules keep this consistent across every post:
- Write human-readable slugs at creation time, since changing a slug after a post is indexed breaks any existing backlinks and search rankings pointing to it.
- Fill meta title and description per post, never leaving them blank or duplicated across items.
- Set canonical tags whenever you syndicate content elsewhere, pointing back to the original Webflow URL.
- Compress images before upload and write alt text that describes the image’s content, not just a filename or keyword stuffing.
Webflow’s Help Center documentation confirms that per-item publishing and CMS capacity are tied to Site plan tier, which affects how many posts and images you can manage as your blog grows. Getting metadata mapping right the first time saves you from retroactively editing dozens of posts once you notice a field was never connected.
Common mistakes and quick fixes
Most Webflow publishing problems trace back to a handful of repeat offenders.
- Full-site publishes instead of single-page publishes push unrelated changes live alongside your blog post. Fix it by defaulting to single-page publishing unless you specifically need a full deployment.
- Leftover template content (sample bios, placeholder links, demo images) makes it into production because it wasn’t removed from the Collection template before launch. Audit the template once, thoroughly, before your first real post goes live.
- Duplicate content from syndication hurts search visibility when the same post lives on Webflow and Medium without a canonical tag. Set the canonical back to your original page every time you cross-post.
- Expired API tokens or unmonitored webhooks quietly break an automation pipeline until someone notices posts have stopped appearing. Build in a simple alert or manual check on a schedule, especially if no one is watching the pipeline daily.
None of these are complicated to fix. They’re just easy to overlook until they’ve already caused a mess.
Ranksector integration: automating content creation and direct publishing to Webflow
For teams that have outgrown manual publishing but aren’t ready to build a custom API pipeline, Ranksector connects automated article creation directly to Webflow CMS, handling both the writing and the publish step. Ranksector states it has published many articles across customer sites and reports measurable domain rating improvements for the businesses using it.
- Keyword research and drafting happen automatically, based on competitor and market analysis rather than manual topic brainstorming.
- Direct publishing to Webflow CMS removes the copy-paste step between a draft and a live Collection item.
- Backlink exchange runs alongside content publishing to build domain authority without manual outreach.
- Two integration paths exist: direct API publishing for continuous daily output, or scheduled import for teams that want batch review before content goes live.
Direct API publishing suits teams comfortable handing off the full pipeline. Scheduled import fits teams that still want a review step before anything reaches their blog.
Author perspective: when to use Webflow and when to automate
Webflow earns its place when design control matters: custom layouts, brand-specific Collection pages, and full ownership of how a post looks. If that’s your priority, start with the Editor and get comfortable with it before adding anything else. But design control and daily publishing volume are different problems, and solving the first doesn’t solve the second. A small team gains far more from automation the moment publishing cadence outpaces available hours, and that moment arrives faster than most founders expect.
— Savannah
Ranksector: automated publishing built into your Webflow workflow
If manual publishing is eating hours you’d rather spend on product or customers, Ranksector’s Pro plan runs the content and publishing pipeline for you at $99 per month, with daily SEO articles delivered straight into your Webflow CMS.
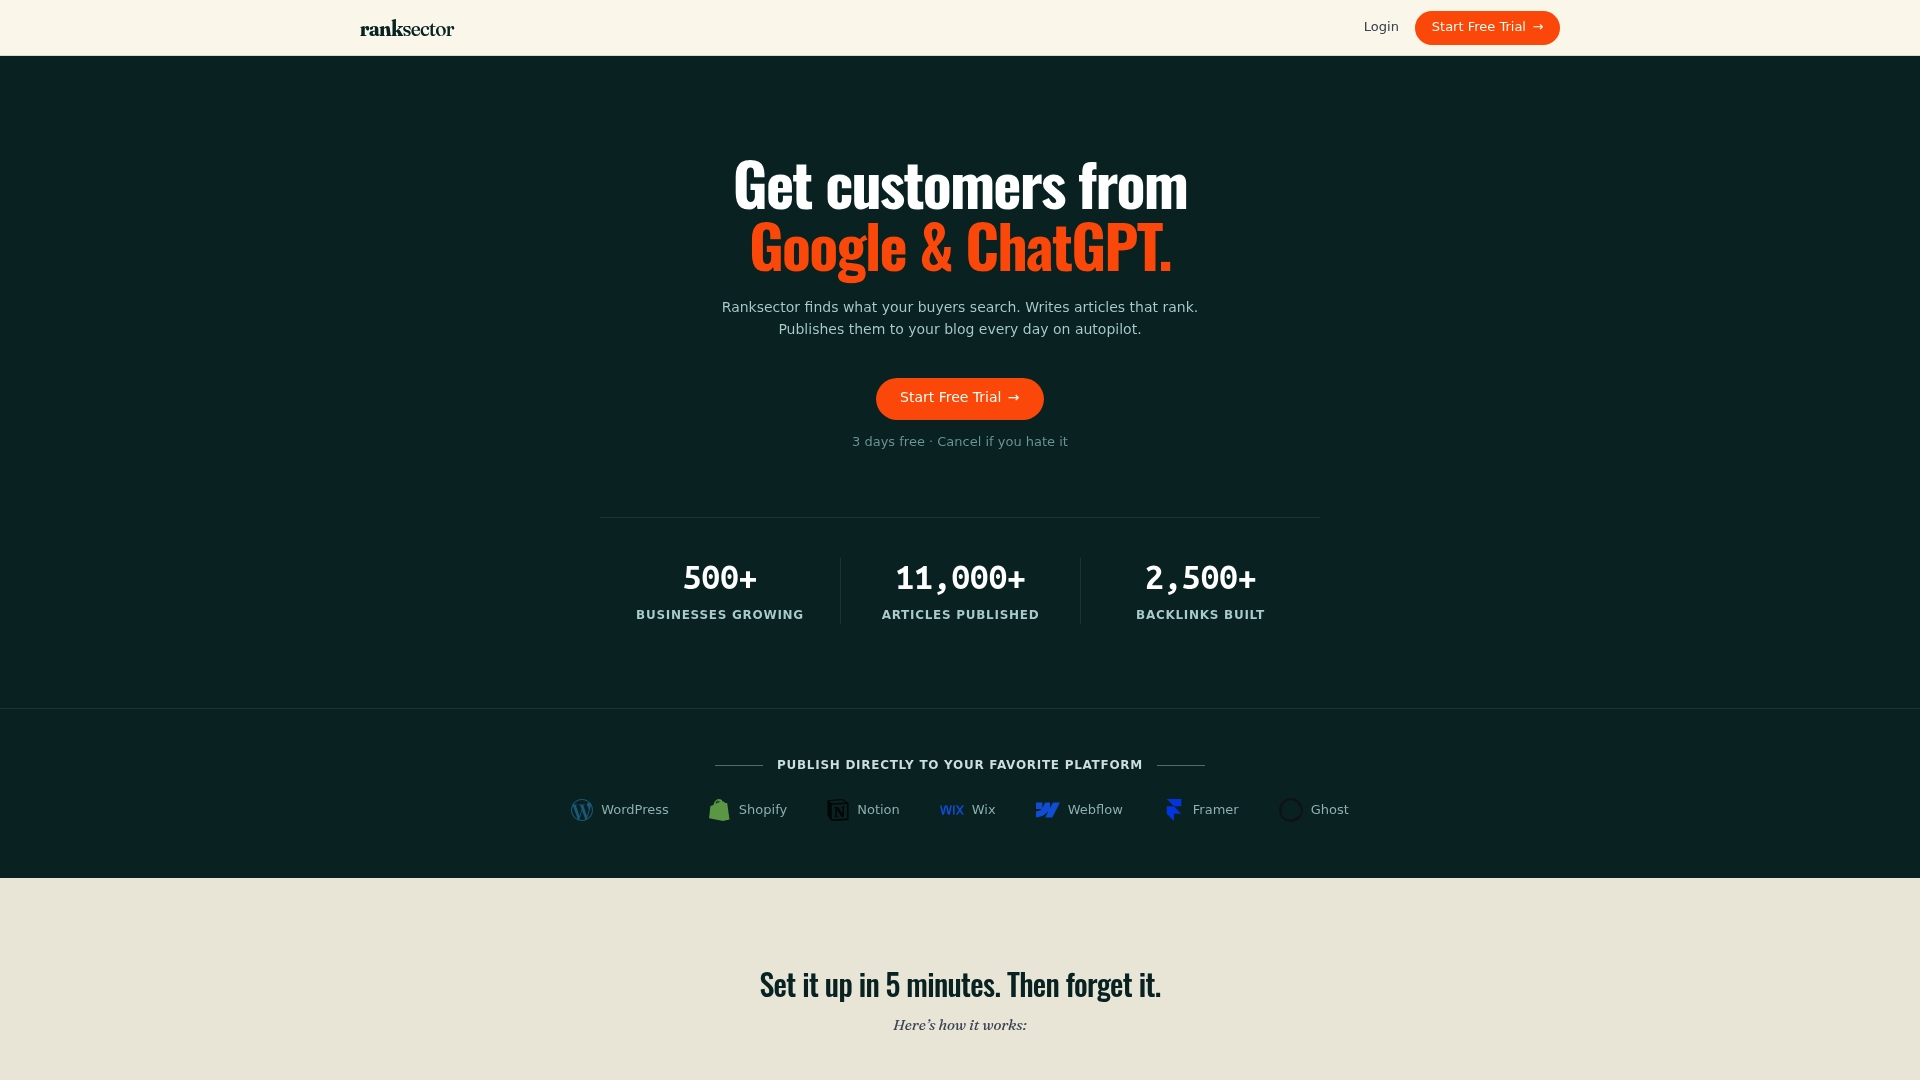
- Daily SEO-optimized articles published directly to your Webflow blog, no manual formatting.
- Competitor-driven keyword research built into the same subscription.
- Backlink exchange to grow domain authority alongside your content.
Not sure where your current setup stands first? Run a GEO Audit to see your content and publishing footprint before committing to automation.
Sources
FAQ
How to publish a blog on Webflow?
Build or choose a CMS template with a Blog Posts Collection, fill in fields like title, body, and slug in the Editor or Designer, then publish the individual item or the full site. A paid Site plan is required to publish to a custom domain rather than a Webflow-hosted subdomain.
Are blogs still a thing in 2026?
Yes, blogs remain a core content format for search visibility and audience building, and Webflow’s continued investment in publishing workflow improvements in 2026 reflects ongoing demand from teams publishing regularly. The format has shifted toward faster, more automated publishing rather than disappearing.
Can I earn $1,000 from blogging?
Blogging income depends heavily on niche, traffic, and monetization method, and no universal figure applies across all blogs. Some publishers reach that level through ads, affiliate links, or products, while many others do not. Results vary by effort and market rather than following a fixed timeline.
Did Webflow have layoffs?
Yes, news coverage in 2026 reported a round of layoffs at Webflow. This was a company staffing change and did not affect the availability of Webflow’s CMS or publishing tools covered in this guide.