Shopify Blog Automation: The Settings Most People Miss
Shopify Blog Automation: The Settings Most People Miss
Auto-Publish to Shopify Blog: Settings Most People Miss
You set up your Shopify blog three months ago, connected an automation tool, and hit publish on your first batch of posts. Then you noticed the featured images were missing on half of them, the author field was blank, and two posts went live at 3 a.m. with no excerpt. The tool worked exactly as configured. The configuration was the problem.
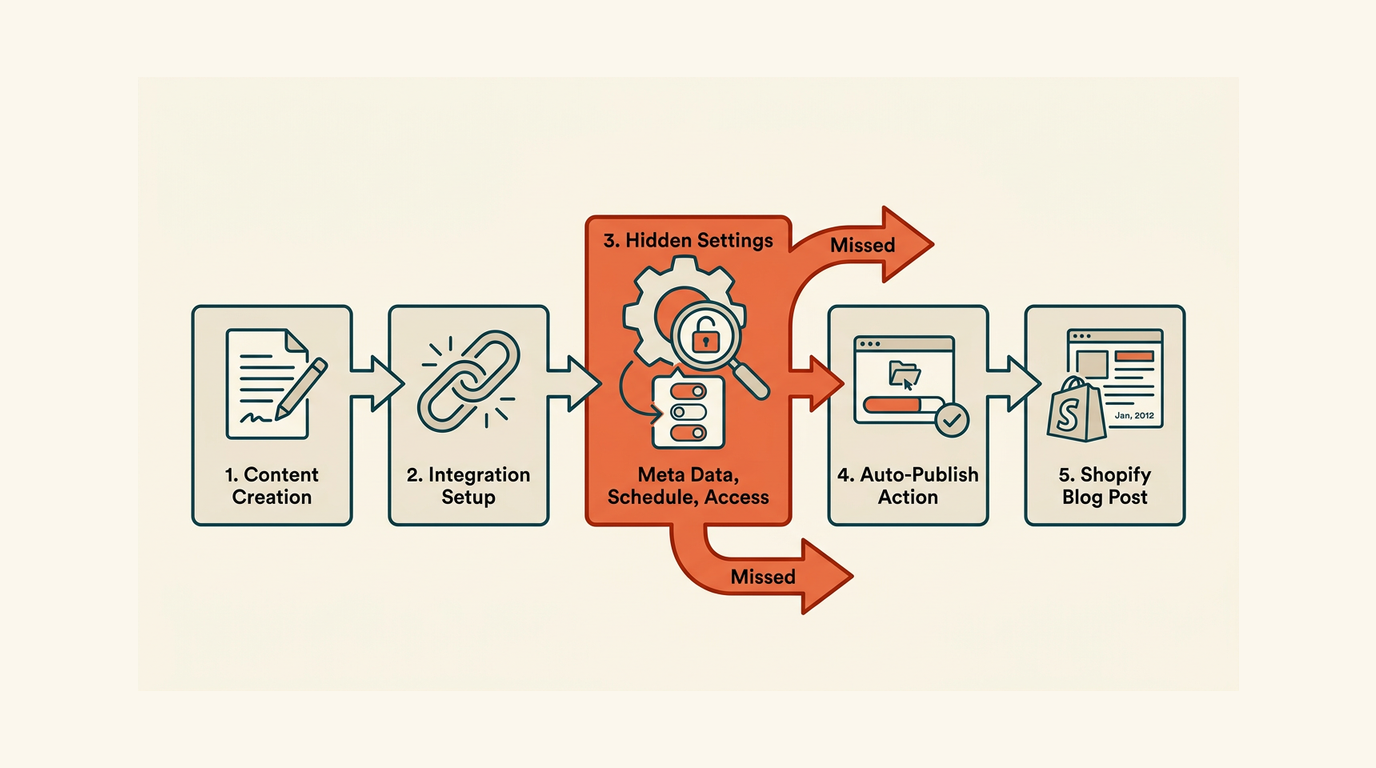
Auto-publishing to Shopify Blog breaks in predictable ways. Not because the API is unreliable, but because the settings that control how a post renders live in 4 or 5 different places inside Shopify admin, and automation setups only touch 1 of them.
This guide covers the settings teams skip, the manual baseline you need before any automation makes sense, and the safeguards that keep published posts from quietly failing SEO checks. Auto-publish to Shopify Blog: the settings most people miss is not a tool problem. It is a setup problem, and it is fixable.
Why Shopify blog auto-publish fails when the basics are skipped
It is a workflow design problem, not a button problem
Automation does not create quality. It multiplies whatever is already in your workflow. If your manual publish path skips the excerpt field on 1 in 5 posts, automation will skip it on every post, at scale, without warning.
Shopify separates blog management from individual post management in its admin. That distinction matters. Blog-level settings control navigation, templates, and comments. Post-level settings control metadata, images, tags, and scheduling. An automation that only maps post-level fields will miss blog-level configuration every time.
The three failure modes that appear regularly
In my experience, auto-publish failures cluster around 3 patterns. First: content mapping gaps, where the automation pushes body text but ignores excerpt, tags, or schema fields. Second: theme rendering failures, where the post exists in the database but displays incorrectly because the template was never configured. Third: publish timing errors, where posts batch-publish simultaneously instead of staggering across a schedule.
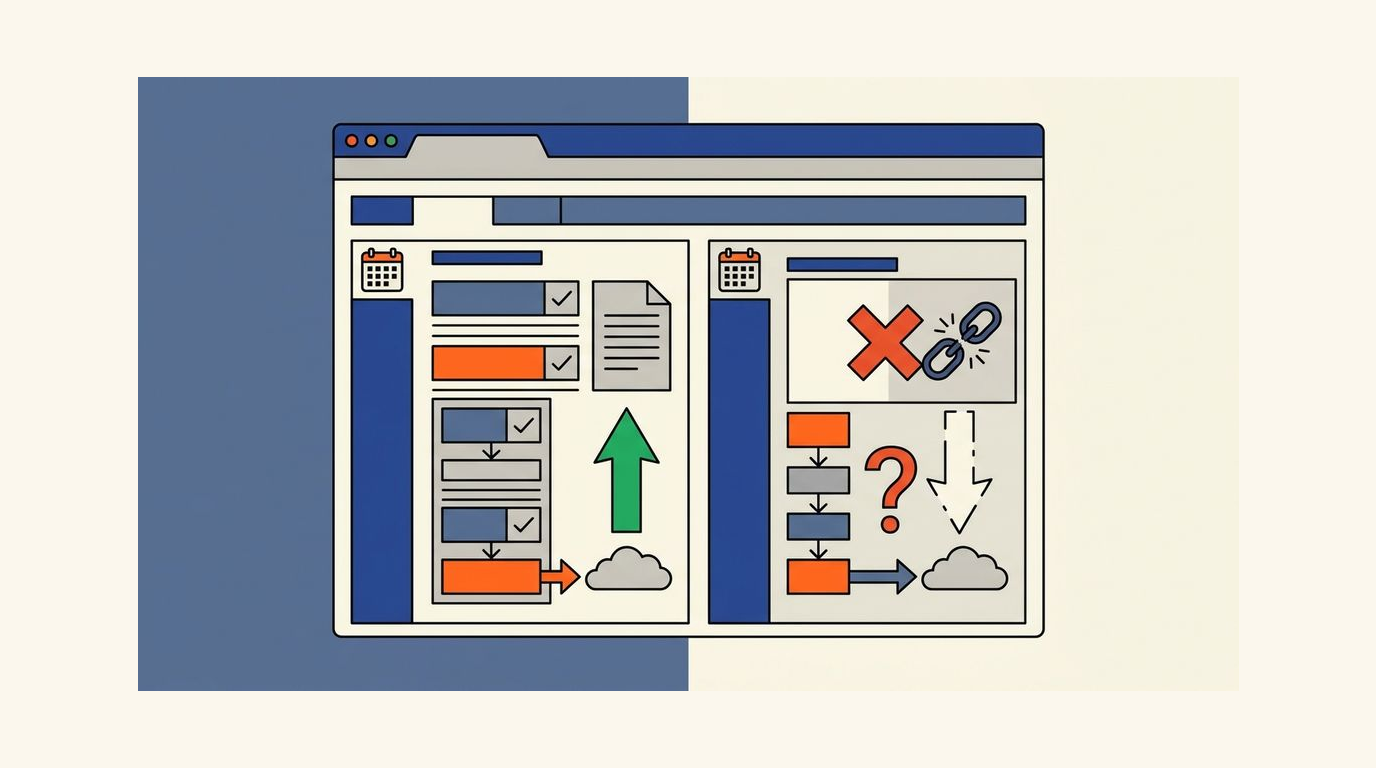
Each failure is invisible until you check the live URL. That is the dangerous part. The post shows as "published" in your CMS or workflow tool, but the live page is broken in ways that cost you crawl budget and ranking potential.
If the post looks wrong in Shopify after a manual publish, automation will make that mistake faster and at higher volume.
The Shopify blog settings you should check before automating ⚙️
Blog-level settings: navigation and template
Start at Online Store > Blog Posts > Manage blogs. Each blog has its own template assignment. If your theme has a custom blog template, posts published to the wrong blog will render with the wrong layout. Check that the blog your automation targets uses the correct theme template, and that the blog itself appears in your store navigation.
Navigation placement is a setting teams forget because it lives in Online Store > Navigation, not in the blog editor. A post can be live and completely unreachable if the blog is not linked from a menu. That is a crawlability problem, not just a UX problem.
Post-level settings: the 6 fields that matter
Before you automate, publish 3 test posts manually and confirm each of these 6 fields is populated and rendering correctly:
- Title renders with the correct heading hierarchy and does not duplicate an H1 from the body content.
- Excerpt appears in blog index pages and in social sharing previews, and is distinct from the first paragraph of the post body.
- Featured image is assigned, sized correctly for your theme, and includes alt text that matches the post topic.
- Tags are applied and match the taxonomy your store uses for filtering or navigation.
- Author is assigned to a real author profile, not left blank or defaulted to a system account.
- SEO title and meta description fields in the post editor are populated, not auto-generated from the post title alone.
If any of these 6 fields is blank in your manual test, your automation will leave it blank at scale. Fix the manual process first.
Draft vs published behavior and scheduling conventions
Shopify's native blog does not support scheduled publishing through the standard admin interface without a third-party app or API call. If your automation publishes posts immediately on trigger, you have no buffer for QA. Build a draft-first step into your workflow: push the post as a draft, run a validation check, then trigger a separate publish call at least 30 minutes later.
Stagger your publish times by at least 2 hours between posts if you are publishing in batches. Publishing 10 posts within a 5-minute window creates indexing noise and can look like a content spam pattern to crawlers.
A draft-first publish step costs you 30 minutes. A broken batch of 20 live posts costs you days of cleanup and potential ranking damage.
What a manual Shopify blog publishing workflow looks like
The baseline path from draft to live
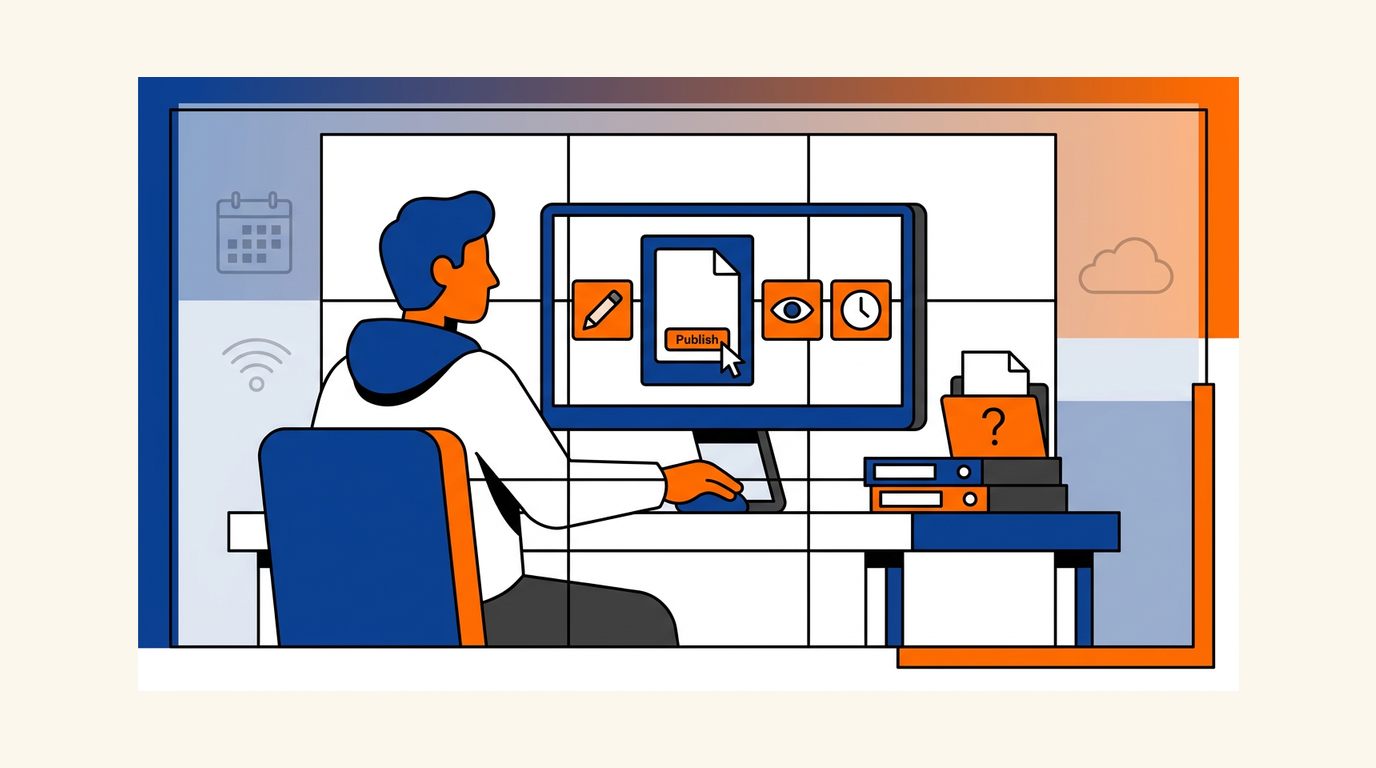
Document this path once before you automate anything. A clean manual workflow has 5 stages: write, review, format, QA, publish. Each stage has a clear owner and a clear exit condition.
- Write: draft is created in a writing tool or directly in Shopify, with title, body, and a rough excerpt.
- Review: an editor checks for accuracy, brand voice, and completeness before formatting begins.
- Format: heading structure is set (H2s and H3s, no skipped levels), images are sized and alt-tagged, internal links are added.
- QA: the post is previewed in the live theme, meta fields are checked, and the URL handle is confirmed as clean and descriptive.
- Publish: the post is set to published with a specific timestamp, not just saved and forgotten.
The QA checks a human completes in under 10 minutes
A QA pass before publish takes about 8 to 10 minutes per post when you have a checklist. Without one, it takes longer and misses more. Check the preview URL in an incognito window. Confirm the featured image loads. Read the first 2 paragraphs aloud to catch formatting errors. Verify the meta description is under 155 characters. Check that at least 2 internal links point to relevant posts on the same domain.
This is your automation baseline. If you cannot do these checks manually in 10 minutes, your automation cannot replicate them reliably either.
How to auto-publish to Shopify Blog without breaking SEO
Use an approval gate, not a raw content trigger
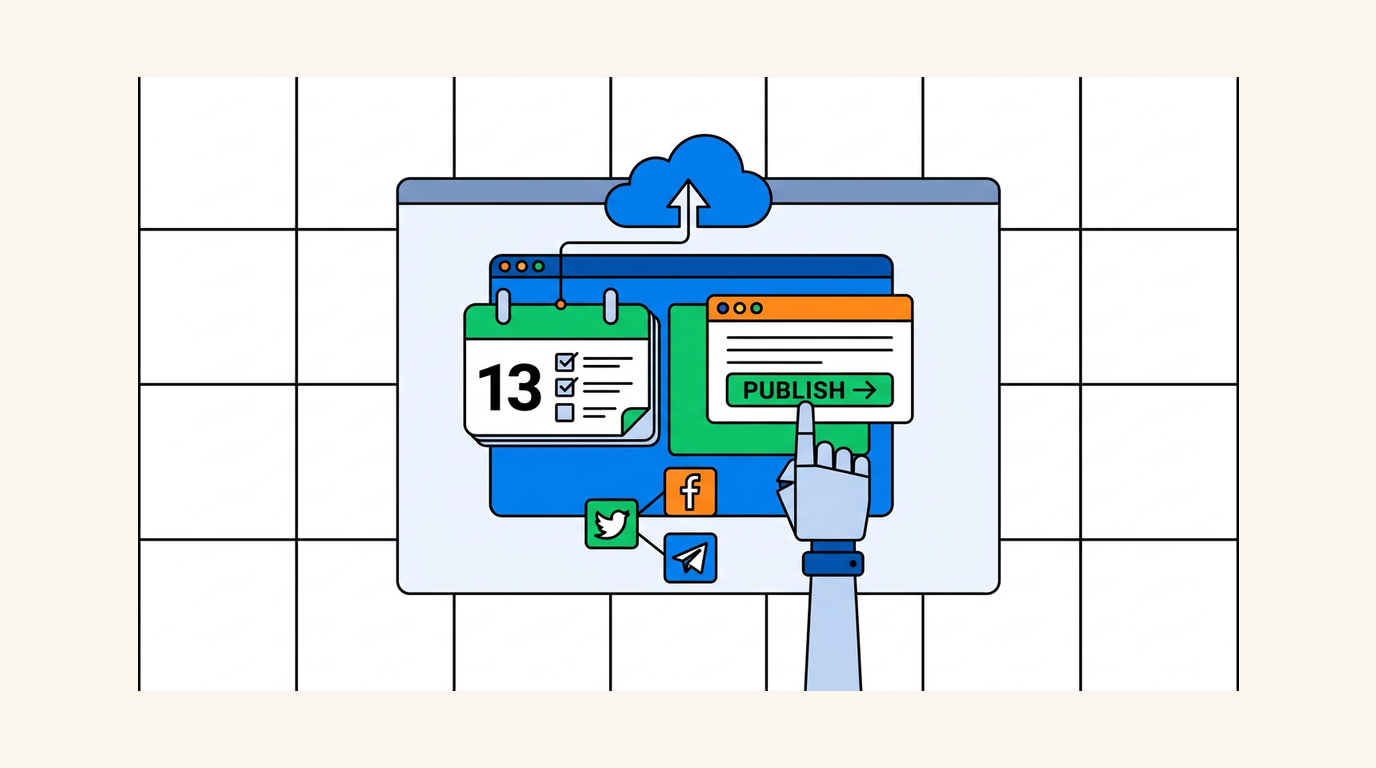
The common automation mistake is triggering a publish on content creation rather than content approval. A post enters your workflow at the draft stage. It should only reach Shopify's publish API after it clears a defined approval state, whether that is a status field in your CMS, a review column in a project tool, or an explicit approval webhook.
According to Trafficontent's implementation guide on Shopify API and webhooks, a safe auto-publish setup includes validation checks before the API call fires, not after. Build the gate before the trigger, not as a post-publish cleanup step.
Map all content fields, not just the body
Your automation needs to map at minimum 8 fields to Shopify's blog post object: title, body_html, excerpt, author, tags, published_at, image (with alt text), and the SEO metafields (metafields_global_title_tag and metafields_global_description_tag). Skipping any of these means the post publishes with gaps that are invisible in your workflow tool but visible to crawlers and readers.
Body content should be clean HTML, not raw markdown or rich-text editor output that has not been converted. Shopify renders body_html directly, so unclosed tags or malformed heading nesting will appear exactly as broken on the live page.
Add retry logic and failure logging
API calls fail. Rate limits exist. Shopify's REST Admin API has a rate limit of 40 requests per app per store per minute under the standard plan. If your automation pushes 50 posts in a batch, at least 10 of those calls will be throttled. Without retry logic, those 10 posts silently fail and never publish.
Log every publish attempt with a timestamp, the post title, the API response code, and the resulting live URL. Review the log after every batch run. A 200 response confirms the API accepted the call. It does not confirm the post renders correctly on the live theme. That check is separate.
Automation is only as trustworthy as its failure handling. A workflow with no retry logic and no logging is a workflow you cannot audit or fix.
The SEO checks auto-publish setups forget 🔍
Heading structure and rendered output
Your content tool might show clean heading hierarchy. Shopify's theme might render it differently. Some themes inject an H1 from the post title field and then render your body content starting at H2. Others do not. If your body content starts with an H1, you end up with 2 H1 tags on the page. That is a direct SEO issue.
Check rendered output on the live URL, not in the draft preview. Use your browser's developer tools to inspect the heading order after the first publish. Fix the template or the content mapping before you scale the automation. As Trafficontent's guide on SEO for auto-published Shopify blogs notes, rendered output is what matters for indexing, not what the draft looks like in your editor.
Internal links, schema, and table of contents
Internal links added in your writing tool need to survive the HTML conversion and render as valid anchor tags in Shopify. Check that relative URLs resolve correctly and that no links point to staging or draft URLs that will 404 in production.
Long-form posts benefit from a table of contents. Shopify blog table of contents implementation requires either a theme section or a JavaScript snippet, not just heading anchors in the body. Confirm your automation does not strip anchor IDs from heading tags, because those IDs are what a table of contents links to.
Schema markup for blog posts (Article or BlogPosting type) is not natively injected by Shopify for all themes. If your theme does not add it automatically, your automation workflow needs to handle it, either through a metafield or a theme modification.
Duplicate content and URL handle validation
Shopify generates a URL handle from the post title by default. If you publish 2 posts with similar titles, Shopify appends a number to the second handle (e.g., /blogs/news/your-post-title-2). That is not a canonical duplicate, but it is a signal worth monitoring. Add a handle uniqueness check to your automation before the publish call fires.
Manual vs automated Shopify blog publishing: where each wins
| Factor | Manual publishing | Automated publishing |
|---|---|---|
| Post volume | Works well up to 4 to 6 posts per week | Necessary above 8 to 10 posts per week |
| Editorial control | High: human reviews every field before publish | Depends entirely on approval gate design |
| Error visibility | Errors caught before publish | Errors appear post-publish without logging |
| Time per post | 8 to 15 minutes of active work | Under 2 minutes with a clean workflow |
| Setup cost | Near zero | 4 to 20 hours depending on integration complexity |
| Failure recovery | Immediate: human catches and fixes | Requires retry logic and monitoring |
| SEO risk | Low if checklist is followed | Higher without validation and rendered-output checks |
Manual publishing wins on control. Automation wins on scale. The crossover point, in my experience, is around 8 posts per week. Below that, the setup cost of automation rarely pays back in time saved. Above it, manual publishing becomes the bottleneck.
Manual is slower but visible. Automation is faster but unforgiving. Match the workflow to the volume, not the other way around.
A safer rollout plan for teams that want to automate
Start with one blog, one template, one post type
Do not automate your entire content operation in week 1. Pick the simplest post type you publish (a news roundup, a product update, a how-to) and automate only that format on only one blog. Get 20 posts through the workflow cleanly before you add a second post type or a second blog. We cover this topic in more depth in Best AI Tools for High-Volume Blog Publishing i....
This constraint forces you to find the edge cases in your field mapping and template rendering before they affect your full content library. One broken post type is recoverable. Twenty broken post types across 3 blogs is a crawl audit.
Test on staging before production
Shopify does not have a native staging environment, but a development store (available free under a Shopify Partners account) lets you test your full publish workflow against a real Shopify instance without affecting your live store. Run at least 5 test publishes on the development store and inspect each one on the live theme before you touch production.
Check these 5 areas: heading order, featured image render, excerpt display on the blog index page, meta title and description in a social preview tool, and the URL handle format. These 5 checks take about 15 minutes per test post and will surface the majority of configuration issues before they go live.
Add alerts, rollback steps, and retry logic before expanding volume
Before you scale past 10 posts per batch, your automation needs 3 safeguards in place. First: an alert (email or Slack notification) fires when any publish call returns a non-200 response. Second: a rollback step exists, meaning you can set a post back to draft status via API if a live post is found to be broken. Third: retry logic re-attempts failed publish calls up to 3 times with a 60-second delay between attempts.
None of these are complex to build. All of them are skipped by teams that are in a hurry. Predictable publishing matters more than fast publishing when your blog feeds into SEO goals that take 3 to 6 months to show results.
Shopify blog auto-publish FAQ
Can Shopify schedule blog posts natively without an app?
Not through the standard admin interface. Shopify's native blog editor does not include a schedule field. You can set a future published_at timestamp via the Admin API, which schedules the post, but this requires either an app or a custom API integration. For teams without developer resources, a scheduling app from the Shopify App Store is the practical option.
What fields does the Shopify Blog Post API support?
The Shopify blog post editor exposes title, body_html, excerpt, author, tags, image, handle, and the SEO metafields for title and description. The API also accepts published_at for scheduling and published as a boolean. Schema markup and table of contents anchors are not API fields. They depend on theme implementation.
Will auto-publishing hurt my Shopify store's SEO?
It depends on the setup. Auto-publishing with proper field mapping, approval gates, staggered timing, and rendered-output checks carries low SEO risk. Auto-publishing raw drafts with missing metadata, duplicate handles, or broken heading structure carries real risk. The automation itself is neutral. The configuration and content quality determine the SEO outcome. For more on what makes content rankable after it is published, see why ranking on page one matters in 2026. You might also find our guide on AI Blog Publishing for SaaS SEO: Manual Workflo... helpful.
How do I handle images in an automated Shopify blog workflow?
Images need to be hosted at a publicly accessible URL before the publish API call fires. Shopify accepts an image object in the blog post API payload with a src field pointing to the image URL and an alt field for alt text. If your images live in a local file system or a private storage bucket, your automation needs an upload step that moves them to a public URL before the post publish call. Missing this step is one of the common causes of posts publishing with no featured image.
What is the difference between managing a blog and managing blog posts in Shopify?
Shopify treats these as separate objects. Managing a blog covers the blog container: its title, handle, template, and comment settings. Managing blog posts covers individual articles within that container. An automation that creates posts without first confirming the target blog exists and is correctly configured will publish content into a broken or invisible container.
Ranksector Blog
Try Ranksector Blog to plan, generate, and push SEO-ready content directly to your Shopify blog without manual field mapping or broken batches. Start with a single post type, confirm the field mapping is clean, and see how Ranksector Blog handles the approval gate, metadata, and publish timing in one connected workflow.